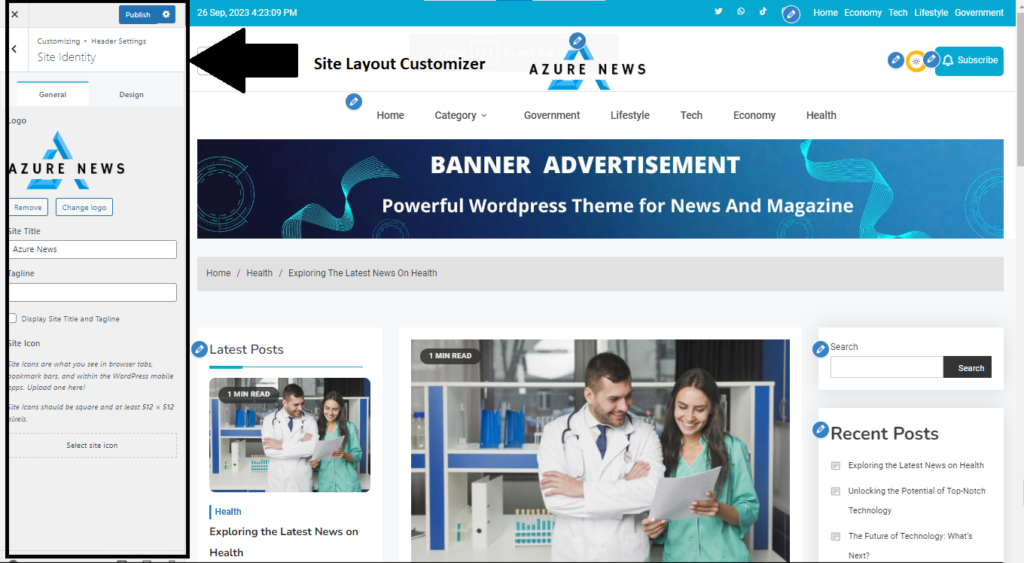
Site Identity consists of major sections which is very crucial for identification of your sites. From the navigation point of view, Site Identity is very important for any type of website.
In this section, there are two tabs. They are: General Tab and Design Tab
- General Tab: It consists of many customization options for Site Logo, Site Title and Tagline and Site Icon.
- Design Tab: Design tab consist of Color changing option for Header texts.
Video Guidance
First of all, let’s navigate to Site Identity in you customizer.
- Go to Appearance>>Customize to open the theme customizer.
- Navigate yourself to Header>>Site Identity.

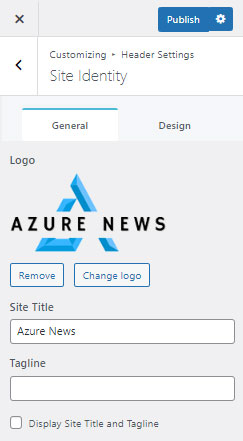
Under the General tab, you’ll have options to change your Site logo, Site title, Site Tagline and Site Icon
Customization of Site logo/Site title & tagline/ Site Icon
First and foremost you will need your official logo ready and stored in your computer’s drive.
- Under the General tab, click on Select Logo to upload your logo. Click on Remove to remove the logo, if you’ve already uploaded one.

- Enter your preferred Site Title and Site Tagline by clicking in the boxes under them.
- Uncheck or check the check box just below the Tagline if you want to hide or display the Title and Tagline respectively at the header section.
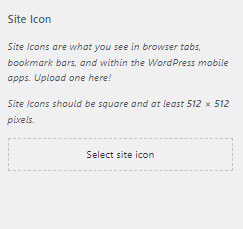
- Now click on the Change Image below of the customizer to upload your Site Icon also known as: FavIcon. If you’ve already uploaded and want to remove the image, click on Remove button.

Customization of Header Text
- Click on the Design tab next to the General tab.
- Click the palette next to Header Text Color and choose color of your own preference.
After you’ve done all the customization of your site, don’t forget to click on the “Publish” button to save your changes and publish it.