Header’s Main Area is the header section which consists of important navigational menus such as: Sticky Header, Site Mode Switcher, Search Icon and Sticky sidebar toggle and a custom button and link space for Custom button.
Video Guide
To customize the Main Header Area settings,
- Open your WordPress Dashboard, and go to Appearance>>Customizer.
- Then, navigate to Header Settings>>Main Area
You’ll find two tabs in Main Area option:
- General Tab
- Design Tab
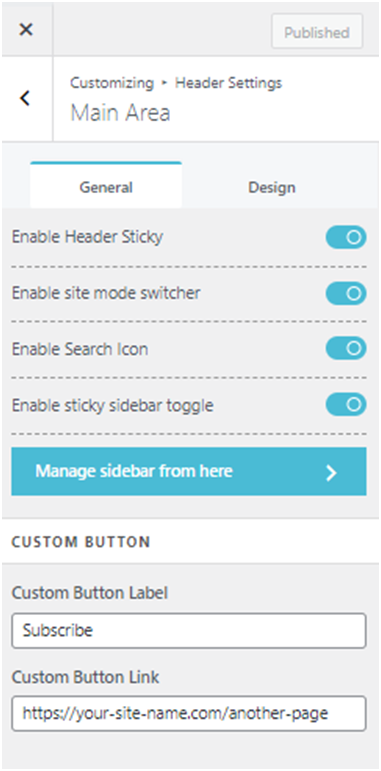
Navigate yourself to General tab by clicking on the tab. Under General tab, there are 4 different toggle options:
- Enable Header Sticky: Toggling this option ‘on’ will lock the Main Area Header at the top of the page even when you scroll down your site.
- Enable Site Mode Switcher: Toggling on this option will enable a Mode Switcher toggle icon in the Main Area Header enabling users to switch mode on the site.
- Enable Search Icon: Toggling this option “on” will enable a search icon in the Main Area Header.
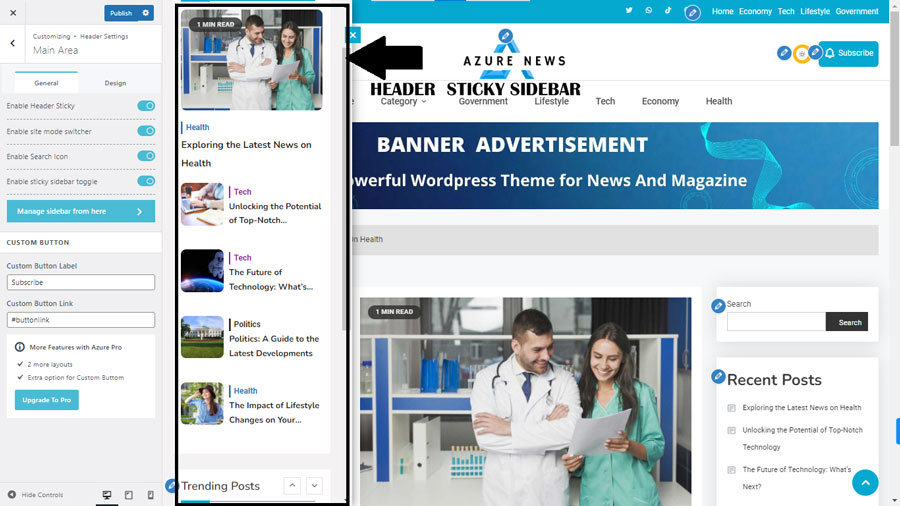
You can edit your Sticky Sidebar by going to Widgets>>Header Sticky Sidebar.
- There is another customizing option in the Main Area of the header settings. Custom Button section, where you can make necessary amendments for a custom button by adding Custom Button label and Custom Button Link.
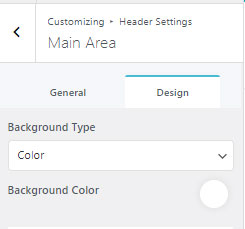
Designing your Main Area in header settings
In Design Tab, you can add Background Image and Color, based on your selection.
- Click on the “Color” from the drop-down menu to decorate header with Color
- Or Click on “Image” to add image in the Main Header Area.